Friday, May 25, 2018

Learning how to bike

Yes, Learn how to manipulate hairspring is like we learned how to bike when we were young. And we just have to keep doing it until we are familiar with it. Just do it.


Centering hairspring.

Initial centering and flatness adjustments after pinning up. 


Centering and flatness check.

We also have a chance to know the productive machine for poising balance. 


Anyone want to make a guess what is this. :)

Friday, May 18, 2018

Hairsprings!

This week we're moving to work on the hairspring and keep poising the balance.
After the balance staff has been riveted to the balance, we need to make static poising to make the balance balanced.

Meanwhile, starting the new course of hairspring, from removing the stud and collet on old hairsprings, then put them back together with new brass pins as a pre-exercice before working on new material.

Now the thing got so delicate, so we really need to hold our breath when adjusting it.

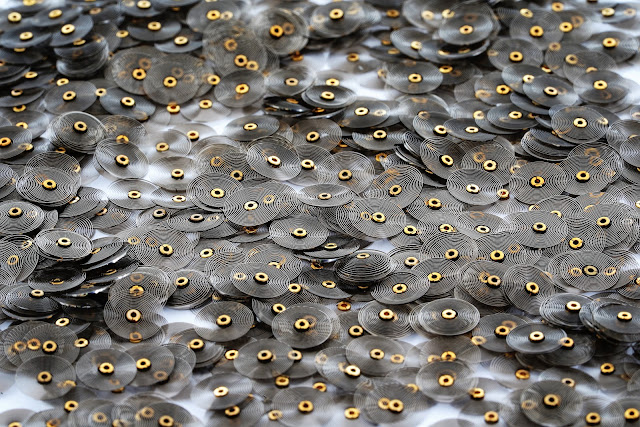
lots of hairsprings to work on!
Stan is poising the balance.

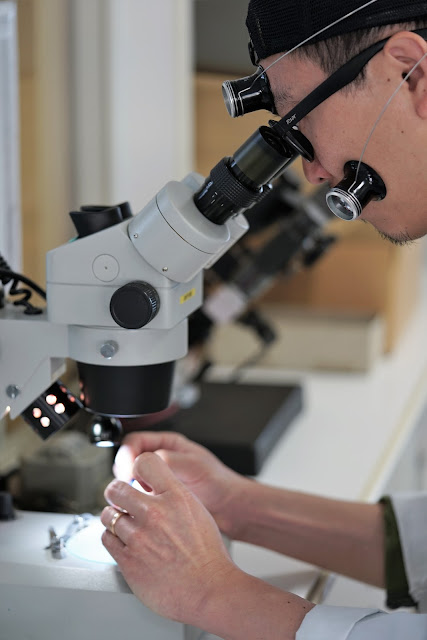
Now we're working more under the microscope.

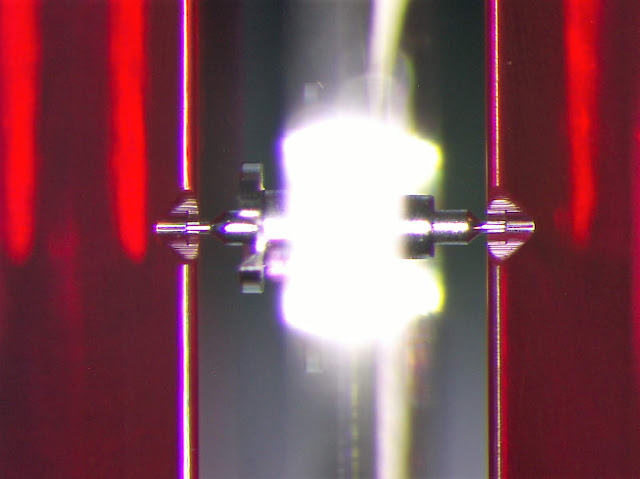
Cheking the pivot before poising.

Before removing the stud.

After.

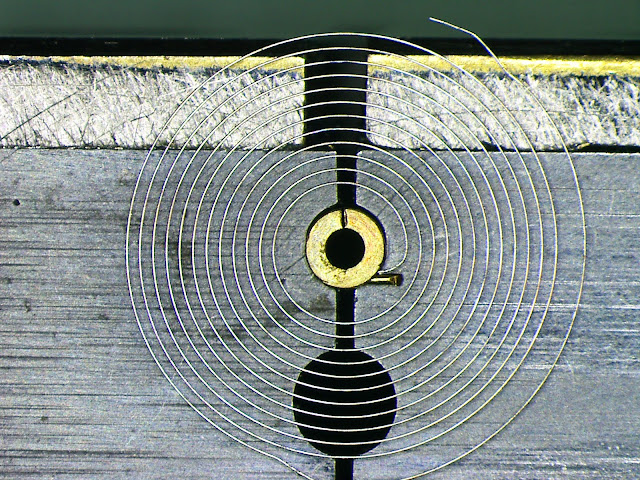
The collet for holding the hairspring.
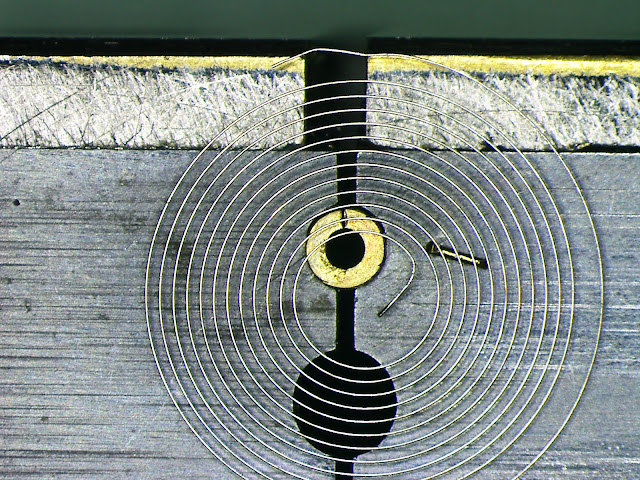
Also remove it.

Friday, May 11, 2018

Balance Course Start

We start balance course first with disassemble it by removing hairspring, punching out double roller, turning, filing and punching out staff. Also deal with different type of shock absorber.

To remind our reader again, we have our Instagram account now - Khwcc2017 -. Please feel free to follow us. :)

Tools you need to deal with balance.

Check how to properly centering the staking set.

Static poising, checking the setup..

Practicing different technique of removing balance staff.

Turn off balance staff before punching it out.

Punching out balance staff.

Eero was in school last week, he was turning the roller seat pivots and burninshing pivots of his balance staff, almost done now!


Friday, May 4, 2018

Fun week

After the escapement exam  this week we are free to do some restoration and finishing. Yi Ting did the real Geneve stripe on her private tool. The geneve stripe looks so fine and sharp, and that is the difficulty for making the geneve stripe. It cant be cut too deep to damage the bevel. CJ restored his own watch and did the high grade finishing for it. The bridges look much better after CJ did the frosting, chamfering, and beveling. It took him some practices to achieve this great quality. Stan was trying to polish the broken jewel. The pallet jewel was broken at the cornor and it had to be polished away. Stan used the tripod and tin plate with diamond paste to polish the jewel to flat again. It looks the new jewel after polishing. Btw we join the instagram(KHWCC2017) this week feel free to follow us. We will post our life of watchmaking on it for sharing.


Nice tool with Geneve stripe

Close-up naked.


 Nice finishing
 Broken jewel
Flat again